Data General microNOVA: Difference between revisions
No edit summary |
No edit summary |
||
| (16 intermediate revisions by the same user not shown) | |||
| Line 3: | Line 3: | ||
== Official Documentation == | == Official Documentation == | ||
=== Bitsavers === | === [https://bitsavers.org/pdf/dg/ Bitsavers] === | ||
* [https://bitsavers.org/pdf/dg/microNOVA/014-000073-00_microNOVA_Technical_Reference_197603.pdf 1976 Technical Reference - microNOVA COMPUTER SYSTEMS] | * [https://bitsavers.org/pdf/dg/microNOVA/014-000073-00_microNOVA_Technical_Reference_197603.pdf 1976 Technical Reference - microNOVA COMPUTER SYSTEMS] | ||
| Line 10: | Line 10: | ||
* [https://bitsavers.org/pdf/dg/microNOVA/014-000074-03_microNOVA_Integrated_Circuits_Data_Manual_197711.pdf 1977 microNOVA INTEGRATED CIRCUITS DATA MANUAL FOR DESIGN ENGINEERS] | * [https://bitsavers.org/pdf/dg/microNOVA/014-000074-03_microNOVA_Integrated_Circuits_Data_Manual_197711.pdf 1977 microNOVA INTEGRATED CIRCUITS DATA MANUAL FOR DESIGN ENGINEERS] | ||
* [https://bitsavers.org/pdf/dg/microNOVA/015-000050-00_microNOVA_Programmers_Reference_197602.pdf 1976 Users Manual - PROGRAMMERS REFERENCE - microNOVACOMPUTERS] | * [https://bitsavers.org/pdf/dg/microNOVA/015-000050-00_microNOVA_Programmers_Reference_197602.pdf 1976 Users Manual - PROGRAMMERS REFERENCE - microNOVACOMPUTERS] | ||
=== [http://www.novasareforever.org/ Novas Are Forever] === | |||
Has a ''massive'' amount of Data General documentation, microNOVA resources are mixed in with others and will require some searching. | |||
== Power == | == Power == | ||
| Line 51: | Line 54: | ||
|107 000648 03 | |107 000648 03 | ||
|Serial | |Serial | ||
| | |<gallery> | ||
File:DataGeneramicroNOVA Slot7 Async top.jpg|Top | |||
File:DataGeneramicroNOVA Slot7 Async bottom.jpg|Bottom | |||
File:DataGeneramicroNOVA Slot7 Async top-backlit.jpg|Top Backlit | |||
File:DataGeneramicroNOVA Slot7 Async bottom-backlit.jpg|Bottom Backlit | |||
</gallery> | |||
|- | |- | ||
!6 | !6 | ||
| Line 66: | Line 74: | ||
|107 000759 01 | |107 000759 01 | ||
|Memory | |Memory | ||
| | |<gallery> | ||
File:DataGeneramicroNOVA Slot5 Memory top.jpg|Top | |||
File:DataGeneramicroNOVA Slot5 Memory bottom.jpg|Bottom | |||
File:DataGeneramicroNOVA Slot5 Memory top-backlit.jpg|Top Backlit | |||
File:DataGeneramicroNOVA Slot5 Memory bottom-backlit.jpg|Bottom Backlit | |||
</gallery> | |||
|- | |- | ||
!4 | !4 | ||
|107 000759 01 | |107 000759 01 | ||
|Memory | |Memory | ||
| | |<gallery> | ||
File:DataGeneramicroNOVA Slot4 Memory top.jpg|Top | |||
File:DataGeneramicroNOVA Slot4 Memory bottom.jpg|Bottom | |||
File:DataGeneramicroNOVA Slot4 Memory top-backlit.jpg|Top Backlit | |||
File:DataGeneramicroNOVA Slot4 Memory bottom-backlit.jpg|Bottom Backlit | |||
</gallery> | |||
|- | |- | ||
!3 | !3 | ||
|107 000624 01 | |107 000624 01 | ||
|Memory | |Memory | ||
| | |<gallery> | ||
File:DataGeneramicroNOVA Slot3 MEM top.jpg|Top | |||
File:DataGeneramicroNOVA Slot3 MEM bottom.jpg|Bottom | |||
File:DataGeneramicroNOVA Slot3 MEM top-backlit.jpg|Top Backlit | |||
File:DataGeneramicroNOVA Slot3 MEM bottom-backlit.jpg|Bottom Backlit | |||
</gallery> | |||
|- | |- | ||
!2 | !2 | ||
| Line 101: | Line 124: | ||
== Card Views == | == Card Views == | ||
=== CPU === | === CPU (Slot 1) === | ||
{| class="wikitable mw-collapsible mw-collapsed" | {| class="wikitable mw-collapsible mw-collapsed" | ||
|+ | |+ | ||
| Line 111: | Line 134: | ||
|} | |} | ||
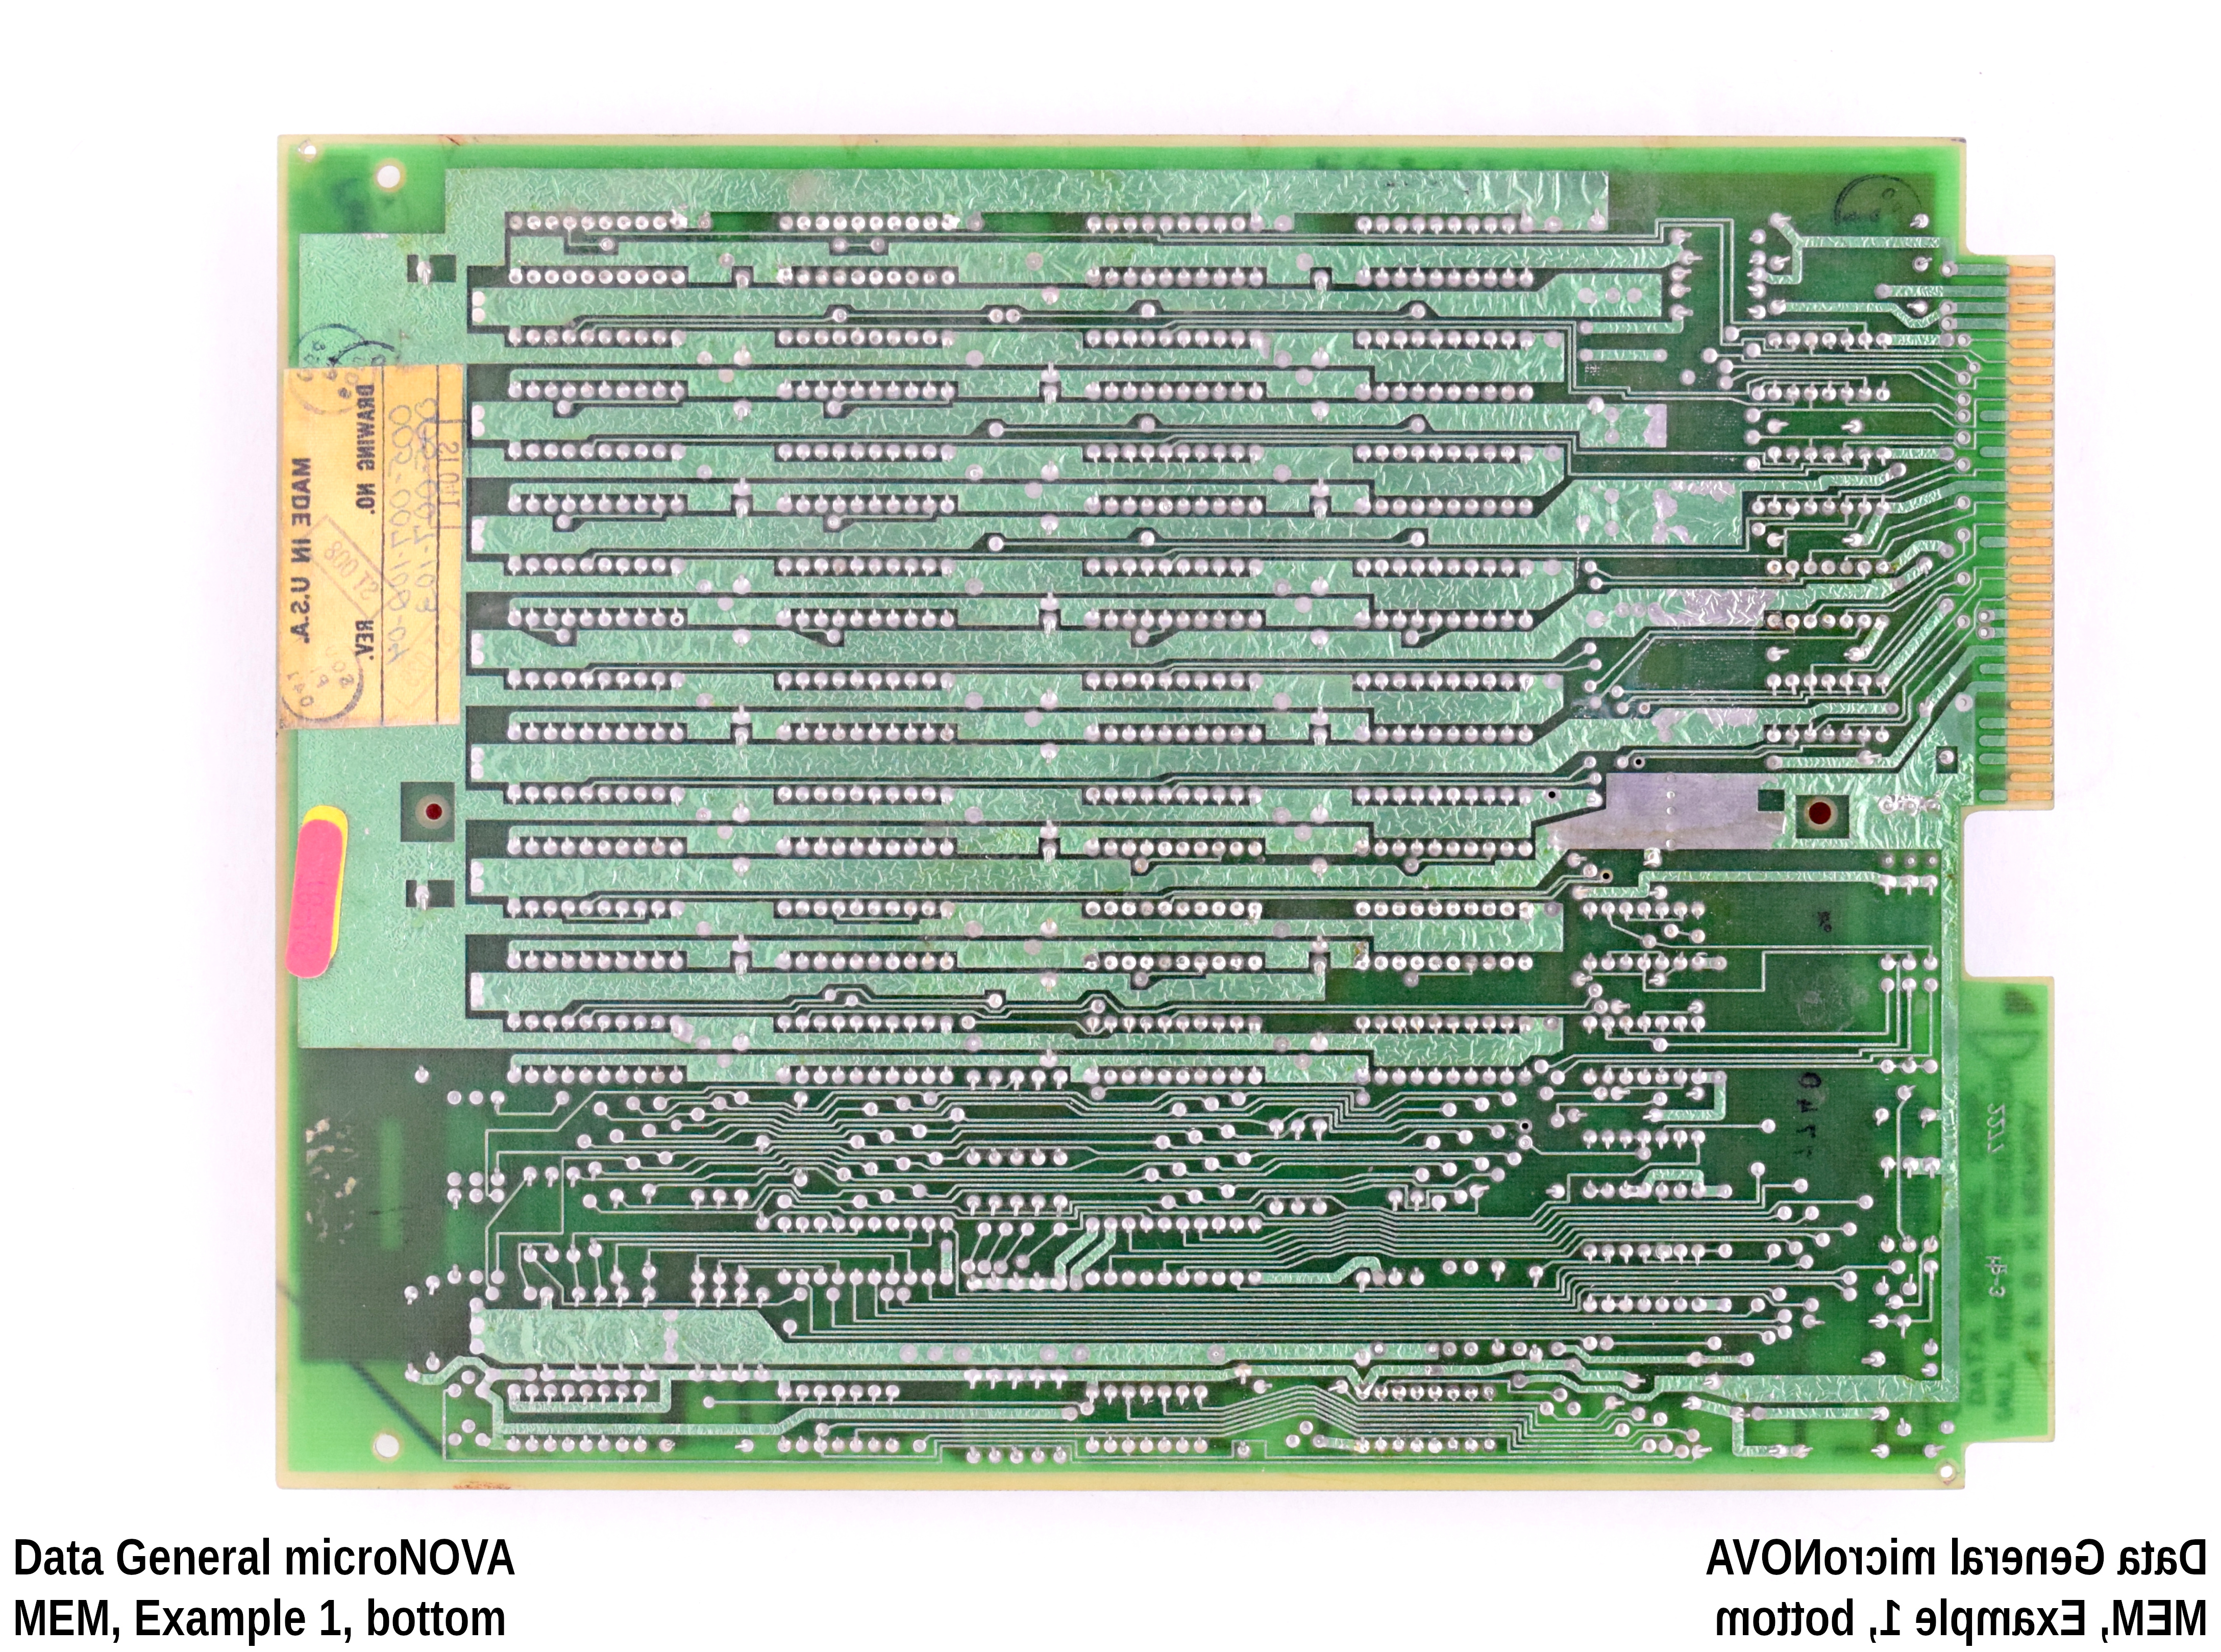
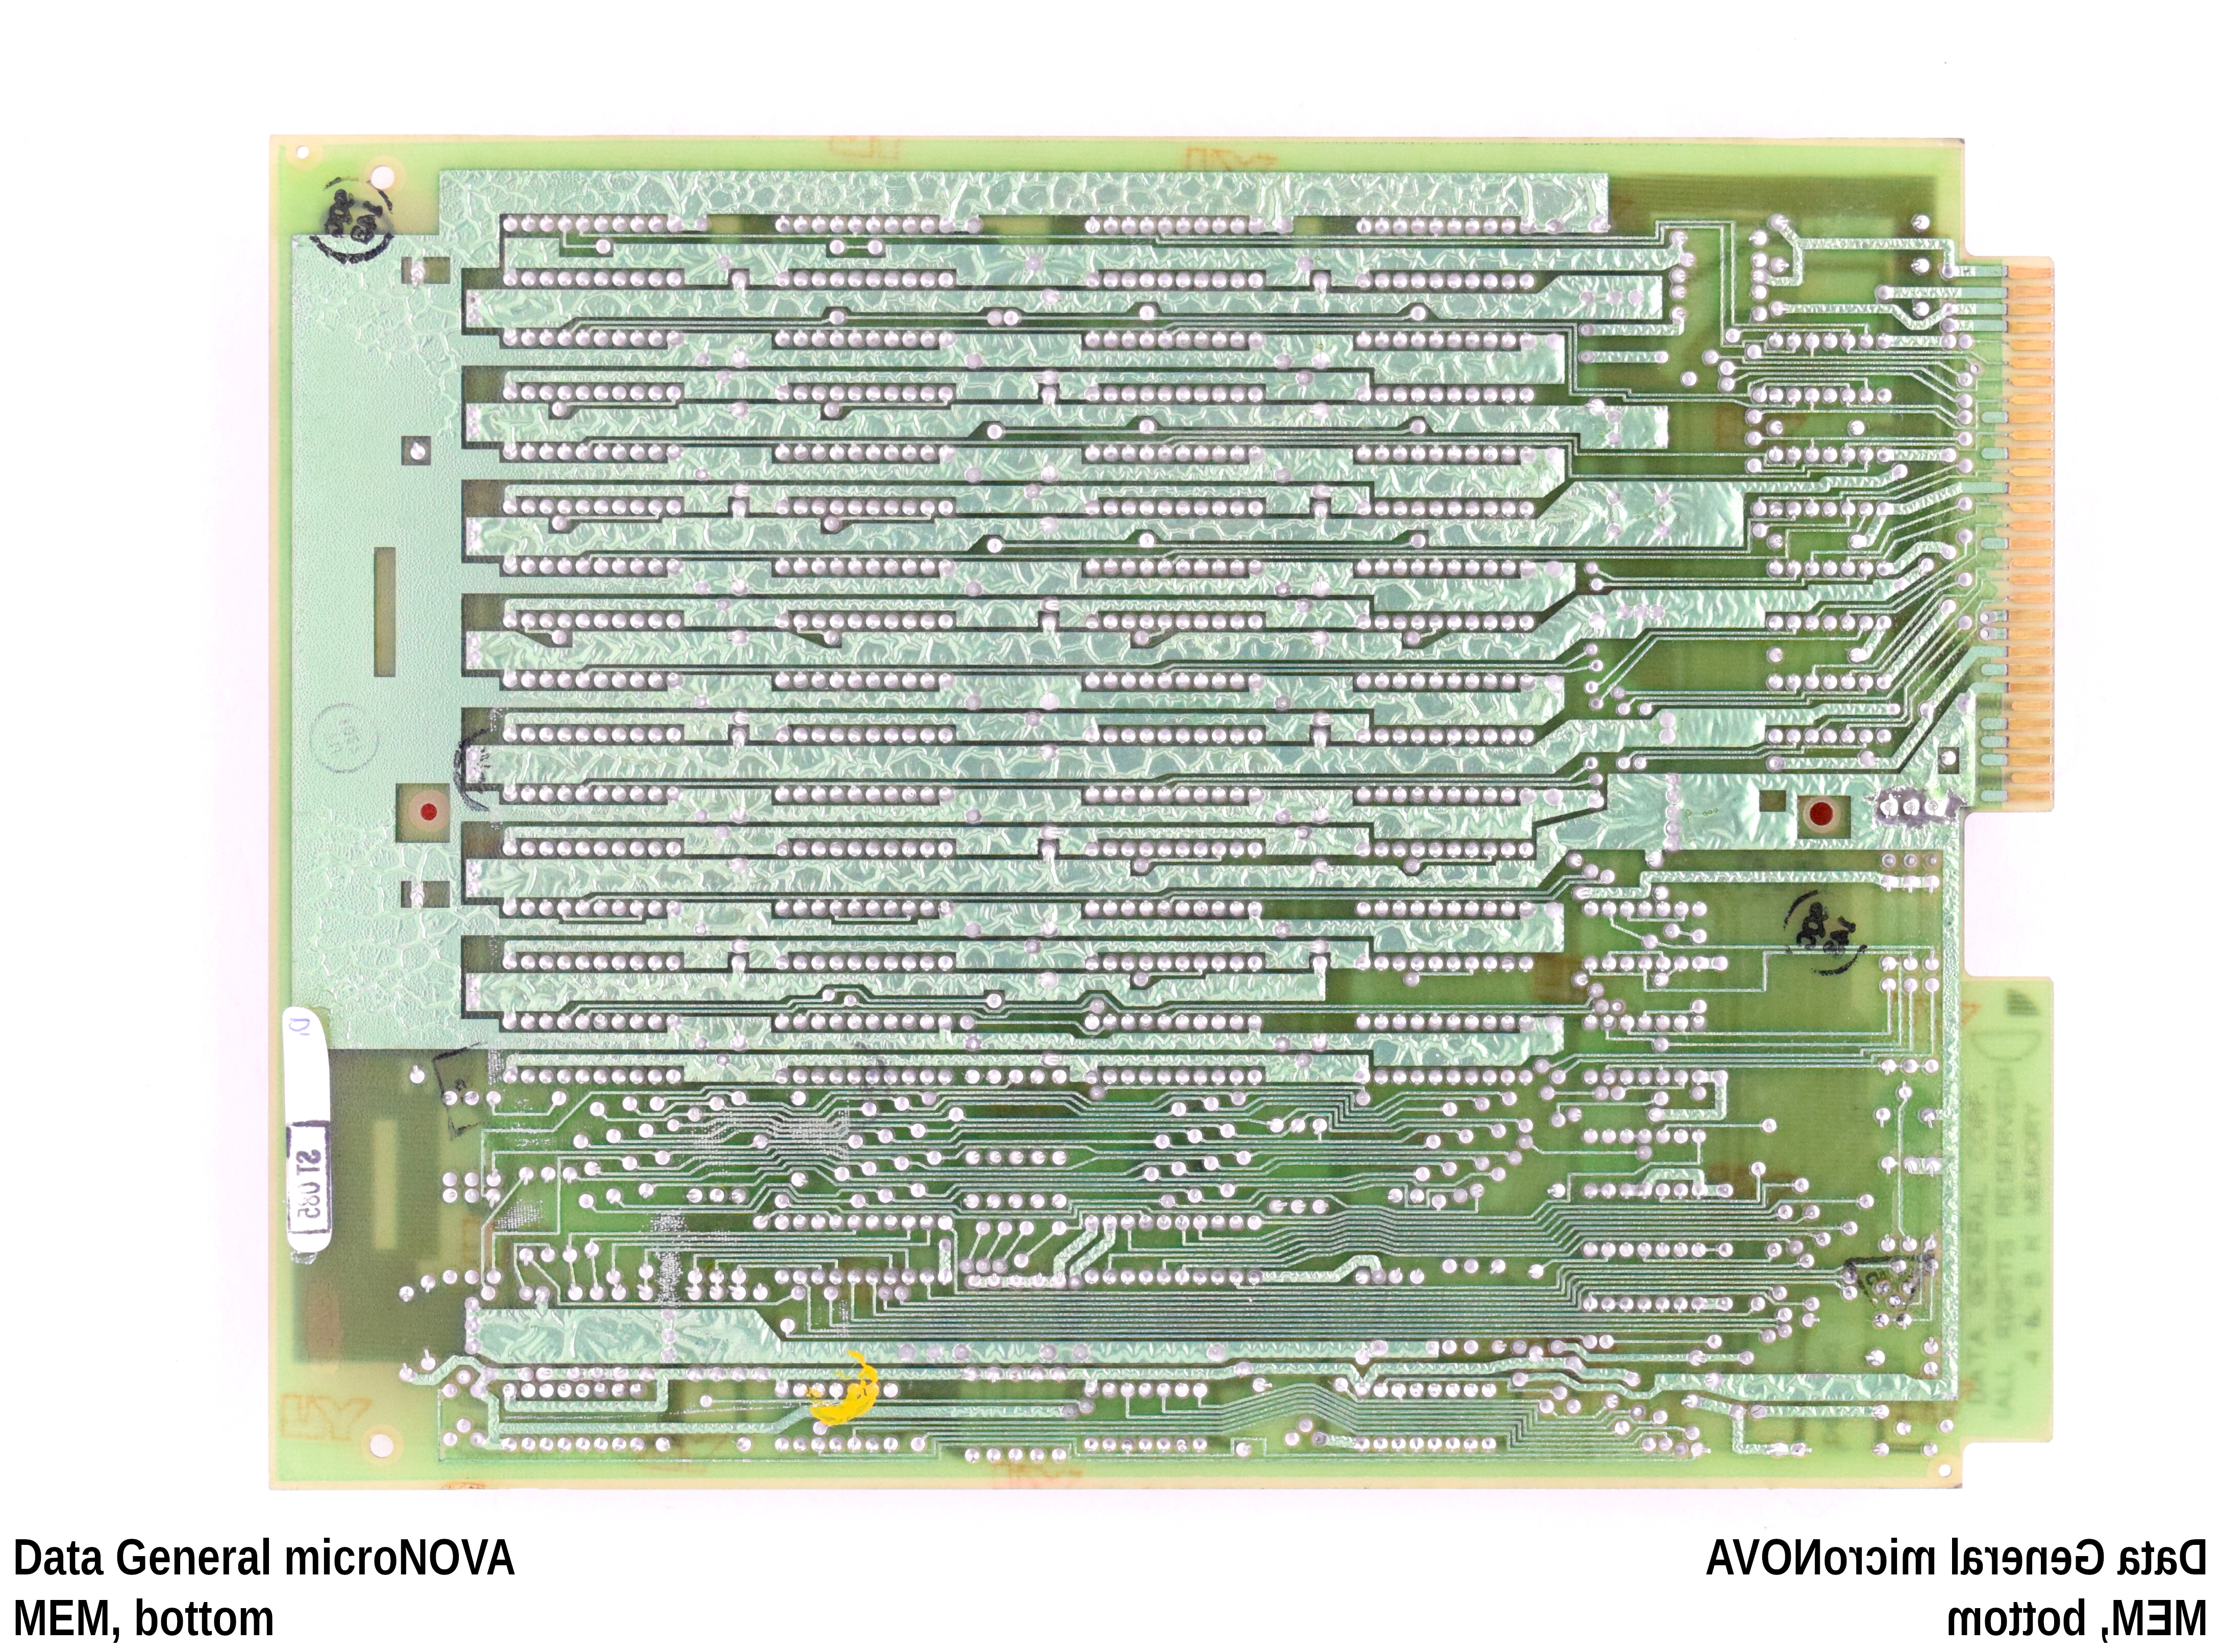
=== MEM === | === MEM (Slot 2) === | ||
{| class="wikitable mw-collapsible mw-collapsed" | {| class="wikitable mw-collapsible mw-collapsed" | ||
|+ | |+ | ||
| Line 121: | Line 144: | ||
|} | |} | ||
=== Async === | === MEM (Slot 3) === | ||
{| class="wikitable mw-collapsible mw-collapsed" | |||
|+ | |||
!Frontlit | |||
!Backlit | |||
|- | |||
|{{ImageCompare|Picture Left=DataGeneramicroNOVA Slot3 MEM top.jpg|Picture Right=DataGeneramicroNOVA Slot3 MEM bottom-flipped.jpg|Picture Width=600}} | |||
|{{ImageCompare|Picture Left=DataGeneramicroNOVA Slot3 MEM top-backlit.jpg|Picture Right=DataGeneramicroNOVA Slot3 MEM bottom-backlit-flipped.jpg|Picture Width=600}} | |||
|} | |||
=== Memory (Slot 4) === | |||
{| class="wikitable mw-collapsible mw-collapsed" | |||
|+ | |||
!Frontlit | |||
!Backlit | |||
|- | |||
|{{ImageCompare|Picture Left=DataGeneramicroNOVA Slot4 Memory top.jpg|Picture Right=DataGeneramicroNOVA Slot4 Memory bottom-flipped.jpg|Picture Width=600}} | |||
|{{ImageCompare|Picture Left=DataGeneramicroNOVA Slot4 Memory top-backlit.jpg|Picture Right=DataGeneramicroNOVA Slot4 Memory bottom-backlit-flipped.jpg|Picture Width=600}} | |||
|} | |||
=== Memory (Slot 5) === | |||
{| class="wikitable mw-collapsible mw-collapsed" | |||
|+ | |||
!Frontlit | |||
!Backlit | |||
|- | |||
|{{ImageCompare|Picture Left=DataGeneramicroNOVA Slot5 Memory top.jpg|Picture Right=DataGeneramicroNOVA Slot5 Memory bottom-flipped.jpg|Picture Width=600}} | |||
|{{ImageCompare|Picture Left=DataGeneramicroNOVA Slot5 Memory top-backlit.jpg|Picture Right=DataGeneramicroNOVA Slot5 Memory bottom-backlit-flipped.jpg|Picture Width=600}} | |||
|} | |||
=== Async and Console (Slot 6) === | |||
{| class="wikitable mw-collapsible mw-collapsed" | {| class="wikitable mw-collapsible mw-collapsed" | ||
|+ | |+ | ||
| Line 129: | Line 182: | ||
|{{ImageCompare|Picture Left=DataGeneramicroNOVA Slot6 Async ConsoleDebug top.jpg|Picture Right=DataGeneramicroNOVA Slot6 Async ConsoleDebug bottom-flipped.jpg|Picture Width=600}} | |{{ImageCompare|Picture Left=DataGeneramicroNOVA Slot6 Async ConsoleDebug top.jpg|Picture Right=DataGeneramicroNOVA Slot6 Async ConsoleDebug bottom-flipped.jpg|Picture Width=600}} | ||
|{{ImageCompare|Picture Left=DataGeneramicroNOVA Slot6 Async ConsoleDebug top-backlit.jpg|Picture Right=DataGeneramicroNOVA Slot6 Async ConsoleDebug bottom-backlit-flipped.jpg|Picture Width=600}} | |{{ImageCompare|Picture Left=DataGeneramicroNOVA Slot6 Async ConsoleDebug top-backlit.jpg|Picture Right=DataGeneramicroNOVA Slot6 Async ConsoleDebug bottom-backlit-flipped.jpg|Picture Width=600}} | ||
|} | |||
=== Async (Slot 7) === | |||
{| class="wikitable mw-collapsible mw-collapsed" | |||
|+ | |||
!Frontlit | |||
!Backlit | |||
|- | |||
|{{ImageCompare|Picture Left=DataGeneramicroNOVA Slot7 Async top.jpg|Picture Right=DataGeneramicroNOVA Slot7 Async bottom-flipped.jpg|Picture Width=600}} | |||
|{{ImageCompare|Picture Left=DataGeneramicroNOVA Slot7 Async top-backlit.jpg|Picture Right=DataGeneramicroNOVA Slot7 Async bottom-backlit-flipped.jpg|Picture Width=600}} | |||
|} | |} | ||
| Line 201: | Line 264: | ||
|077400-077777 | |077400-077777 | ||
|The console debug option consists of a program contained in 256 locations of read-only memory (ROM) that respond to addresses 077400-077777 | |The console debug option consists of a program contained in 256 locations of read-only memory (ROM) that respond to addresses 077400-077777 | ||
|} | |||
== Connectors == | |||
{| class="wikitable" | |||
|+From Async 12-Pin IDC | |||
!1 | |||
!2 | |||
!3 | |||
!4 | |||
!5 | |||
!6 | |||
!7 | |||
!8 | |||
!9 | |||
!10 | |||
!11 | |||
!12 | |||
|- | |||
|? (+V) | |||
|RX | |||
| | |||
| | |||
| | |||
| | |||
| | |||
|GND | |||
|KEY | |||
|TX | |||
| -5V | |||
|N/C | |||
|} | |||
{| class="wikitable" | |||
|+Dasher D2 | |||
!1 | |||
!2 | |||
!3 | |||
!4 | |||
!5 | |||
!6 | |||
|- | |||
|TX | |||
|? (-5V IN) | |||
|? (+V) | |||
|RX | |||
|N/C (DTR) | |||
|GND | |||
|} | |} | ||
| Line 209: | Line 318: | ||
|+ | |+ | ||
! colspan="2" | | ! colspan="2" | | ||
=== Memory Write Access & Startup Inconsistency === | === Memory Write Access & Startup Inconsistency - '''DONE''' === | ||
|- | |- | ||
| colspan="2" |On the first day of attempting to use the MicroNova after bringing up the PSU with Usagi Electric it behaved inconsistently when being fully rebooted and would not always present the Debug Console (Memory Monitor). After some contemplating and manual reading I think there are three avenues to troubleshoot for a potential cause for this: | | colspan="2" |On the first day of attempting to use the MicroNova after bringing up the PSU with Usagi Electric it behaved inconsistently when being fully rebooted and would not always present the Debug Console (Memory Monitor). After some contemplating and manual reading I think there are three avenues to troubleshoot for a potential cause for this: | ||
| Line 216: | Line 325: | ||
# <s>The powerfail option I removed the batteries from is behaving oddly on poweroff and some CPU/RAM state may be held by the giant caps</s> | # <s>The powerfail option I removed the batteries from is behaving oddly on poweroff and some CPU/RAM state may be held by the giant caps</s> | ||
# <s>The card bus has differential connectors that need to be terminated. The external drives share the differential signals and are daisy chained, the last drive in the chain has the terminator on it.</s><ref>https://bitsavers.org/pdf/dg/microNOVA/014-000073-03_microNOVA_Technical_Reference_197701.pdf<nowiki/>PDF Page 101</ref> | # <s>The card bus has differential connectors that need to be terminated. The external drives share the differential signals and are daisy chained, the last drive in the chain has the terminator on it.</s><ref>https://bitsavers.org/pdf/dg/microNOVA/014-000073-03_microNOVA_Technical_Reference_197701.pdf<nowiki/>PDF Page 101</ref> | ||
# It's possible the Debug Console is locked out of modifying RAM because it is waiting to load a program from an external drive? It's getting to the grasping at straws point here. | # <s>It's possible the Debug Console is locked out of modifying RAM because it is waiting to load a program from an external drive? It's getting to the grasping at straws point here.</s> | ||
# The RAM was much colder compared to the rest of the logic indicating it is somehow disabled. More investigation needs to be done to figure out why. | |||
Option 3 is the most recent theory based on reading through the manual ( 015-000050-00_microNOVA_Programmers_Reference_197602.pdf ) and reading the description of the powerfail option. | Option 3 is the most recent theory based on reading through the manual ( 015-000050-00_microNOVA_Programmers_Reference_197602.pdf ) and reading the description of the powerfail option. | ||
Option 4 didn't solve the issue with termination on the backplane. | Option 4 didn't solve the issue with termination on the backplane. | ||
'''DONE''' | |||
The problem was U20 which is an nm634, after suspecting RAM the chips were probed.<gallery> | |||
File:MicroNOVA CPUDebug RAMTimingsBADCS.jpg|RAM chip signals being probed | |||
</gallery>The chip select line never changes in the reading when it should be needed. The path for it from the RAM was followed back up to the CPU<gallery> | |||
File:MicroNOVA CPUDebug CS Probes.jpg|Probe points for CS signal origin | |||
File:MicroNOVA CPUDebug CS PATH.jpg|Probe point readings | |||
</gallery>The signal was lost in U20. After further investigation it was also determined that the chip was behaving incorrectly in other ways as well. The direction pins may not have been responding correctly. | |||
A replacement mN634 for U20 was sourced from an unrelated microNOVA RAM board I was able to purchase on ebay before I had started the refurb. Once replaced the CPU board read and wrote to RAM correctly and the machine was fully functional! | |||
|- | |- | ||
! colspan="2" | | ! colspan="2" | | ||
| Line 233: | Line 355: | ||
* Read binary data and send it to machine | * Read binary data and send it to machine | ||
* Handle receiving and transmitting files from a CLI on linux | * Handle receiving and transmitting files from a CLI on linux | ||
'''2025-03-12:''' | |||
The software can now read and write to blocks of memory using binary files. It needs to be made easier to use still but the primary concept is functional. | |||
|- | |- | ||
! | ! | ||
=== Refurb Dual 8 Inch Floppy Drive === | === Refurb [[Data General 6039 Dual 8in Floppy Drive|Dual 8 Inch Floppy Drive]] - DONE === | ||
! | ! | ||
=== Image 8 Inch Boot Disk === | === Image 8 Inch Boot Disk - DONE === | ||
|- | |- | ||
|There is a 6030(?) dual floppy drive unit in the rack. The drive has a monolith PCB that controls both floppy drive mechanisms. The data channel for the drive goes into the chassis and connects to the main board. | |There is a 6030(?) dual floppy drive unit in the rack. The drive has a monolith PCB that controls both floppy drive mechanisms. The data channel for the drive goes into the chassis and connects to the main board. | ||
| Line 247: | Line 372: | ||
* Determine original drive mechanism. | * Determine original drive mechanism. | ||
* Determine the drive's ID for loading with the `L` command in the Debug Console. | * Determine the drive's ID for loading with the `L` command in the Debug Console. | ||
'''DONE:''' | |||
The reform process went smoothly, no shorts were found on the logic board though the total resistance of the logic was lower than I was happy with. The original drive mechs were not inspected due to the requirement of removing the MASSIVE logic board. The drive ID is set via jumpers on the top of the board. The device code is <code>33</code>(octal) for booting from the drives. | |||
NOTE: | |||
The write protect sensor light does not seem to play well with the blocking sticker on the disks I have. I needed to put EMI tape over the notch to fully block light before I could write to it. | |||
|I have one single floppy disk that is labeled "BOOT". Whether it truly is software or not has yet to be determined. The disk needs to be preserved still but this is made difficult by the disk being hard sectored. | |I have one single floppy disk that is labeled "BOOT". Whether it truly is software or not has yet to be determined. The disk needs to be preserved still but this is made difficult by the disk being hard sectored. | ||
I need to find a method for imaging and writing hard sectored disks. I have other non-software hard sectored disks for the microNova that I can test with. I currently have a Kryoflux and Greaseweazle for attempting this. It is also possible that the data encoding scheme of the disks is unknown and a flux image is all that can be done. | I need to find a method for imaging and writing hard sectored disks. I have other non-software hard sectored disks for the microNova that I can test with. I currently have a Kryoflux and Greaseweazle for attempting this. It is also possible that the data encoding scheme of the disks is unknown and a flux image is all that can be done. | ||
| Line 255: | Line 390: | ||
I have no intention of ''ever'' putting my only original boot disk in the original drive again. There is no way to know what the original drive will do to the disk and if there are low level issues it could potentially erase data. For the sake of ensuring that disks data is never lost I want to duplicate the disk and then use the copy to boot from. | I have no intention of ''ever'' putting my only original boot disk in the original drive again. There is no way to know what the original drive will do to the disk and if there are low level issues it could potentially erase data. For the sake of ensuring that disks data is never lost I want to duplicate the disk and then use the copy to boot from. | ||
'''DONE:''' | |||
The greaseweazle implementation of hard sectors was more advanced than I had found previously and it was able to read and write the hard sectored disks. It cannot decode them though, the encoding scheme for the disks is unlike any other format I can find. But I was still able to duplicate the disk. | |||
|- | |- | ||
! colspan="2" | | ! colspan="2" | | ||
| Line 263: | Line 403: | ||
A bootstrap program for running from the disk will likely be required. The programming manual has such a bootstrap program provided but it may not be suitable for this configuration. | A bootstrap program for running from the disk will likely be required. The programming manual has such a bootstrap program provided but it may not be suitable for this configuration. | ||
Once the machine is booting and running an OS it should be possible for it to act as a gateway to the Nova 4/X for furthering that project. | Once the machine is booting and running an OS it should be possible for it to act as a gateway to the Nova 4/X for furthering that project. | ||
'''2025-03-2:''' | |||
A copy of my one "BOOT" disk was booted on the machine. It seems to most closely resemble DG DOS but is not a complete system. It may just be a utility for either bootstrapping to the HDD or initializing new disks. More research needs to be done outside of what I have by reading the new docs made available by NovasAreForever to determine how to use the system. | |||
'''2025-03-7:''' | |||
Work is being done on decoding/encoding the flux data for the DG floppy drives. I have also spent time experimenting with [[simH]] in an attempt to emulate the machine. Ideally I would be able to use simH to make new floppy disk images for the microNOVA. Unfortunately it turns out the 6039 I have is command incompatible with the 6030 drive that simH ''may'' be able to emulate. Hope isn't completely lost yet, I might be able to make data disks using simH, but without potentially getting the rest of the OS off of the HDD I may not be able to get the correct utilities for working with the drives I have. While more work happens in the background on the floppy data I'm going to start turning my attention to the serial interface program because it is going to be critical. | |||
|- | |- | ||
! colspan="2" | | ! colspan="2" | | ||
Latest revision as of 01:48, 17 March 2025

| General Info | |
|---|---|
| Manufacturer | Data General |
| Condition | Working |
| QR Code | |
(Click for Asset Tag) | |

Official Documentation
Bitsavers
- 1976 Technical Reference - microNOVA COMPUTER SYSTEMS
- 1977 Technical Reference - microNOVA COMPUTER SYSTEMS
- 1976 Technical Reference - microNOVA INTEGRATED CIRCUITS
- 1977 microNOVA INTEGRATED CIRCUITS DATA MANUAL FOR DESIGN ENGINEERS
- 1976 Users Manual - PROGRAMMERS REFERENCE - microNOVACOMPUTERS
Novas Are Forever
Has a massive amount of Data General documentation, microNOVA resources are mixed in with others and will require some searching.
Power
Power Connector: https://www.mouser.com/ProductDetail/538-50-84-1120
| Current Rating | Diameter | Length | |
|---|---|---|---|
| 120 VAC | 5A | 6.3mm | 32mm |
| 240 VAC | 3A | 6.3mm | 32mm |
Cards
| Slot # | Card Number | Card Type | Card Photos |
|---|---|---|---|
| 9 | |||
| 8 | |||
| 7 | 107 000648 03 | Serial |
|
| 6 | 107 000648 06 | Serial |
|
| 5 | 107 000759 01 | Memory |
|
| 4 | 107 000759 01 | Memory |
|
| 3 | 107 000624 01 | Memory |
|
| 2 | 107 000624 01 | Memory |
|
| 1 | 107 000533 03 | CPU |
|


Card Views
CPU (Slot 1)


MEM (Slot 2)


MEM (Slot 3)


Memory (Slot 4)


Memory (Slot 5)


Async and Console (Slot 6)


Async (Slot 7)


CPU Card Jumpers

Addressable Locations
Note: This is a 4-bit bitslice machine that uses octal notation, not hex. Digit values range from 0 to 7.
| Address (Octal) | Description |
|---|---|
| 0 | Accumulator 0 |
| 1 | Accumulator 1 |
| 2 | Accumulator 2 |
| 3 | Accumulator 3 |
| 4 | The program counter of the interrupted program. |
| 5 | Stack Pointer |
| 6 | Frame Pointer |
| 7 | CPU and console controller (TTO) status where:
Bits 0-12 are reserved for future use. Bit 13 is status of the carry bit when the console debug option received control. Bit 14 is status of Interrupt On flag when the console debug option received control Bit 15 is status of TTO Done flag when the console debug option received control |
| 10 | Address of a location in the first 256 words of main memory that can be used by the console debug option for breakpoint transfers. |
| 11 | Address of the most recent breakpoint |
| 12 | User instruction at the address of the most recent breakpoint |
| 17 | Contents of memory location 0775778 |
| Address (Octal) | Description |
|---|---|
| 2-36 | 30 word bootstrap loader storage |
| 100 | Programmed I/O bootstrap loader start location |
| 377 | NIOS instruction loop location for booting from data channel device |
| 077400-077777 | The console debug option consists of a program contained in 256 locations of read-only memory (ROM) that respond to addresses 077400-077777 |
Connectors
| 1 | 2 | 3 | 4 | 5 | 6 | 7 | 8 | 9 | 10 | 11 | 12 |
|---|---|---|---|---|---|---|---|---|---|---|---|
| ? (+V) | RX | GND | KEY | TX | -5V | N/C |
| 1 | 2 | 3 | 4 | 5 | 6 |
|---|---|---|---|---|---|
| TX | ? (-5V IN) | ? (+V) | RX | N/C (DTR) | GND |
Project Roadmap
In order to fully bring up the machine and ensure everything is running correctly I need to go through certain procedures on each component.
Memory Write Access & Startup Inconsistency - DONE | |
|---|---|
On the first day of attempting to use the MicroNova after bringing up the PSU with Usagi Electric it behaved inconsistently when being fully rebooted and would not always present the Debug Console (Memory Monitor). After some contemplating and manual reading I think there are three avenues to troubleshoot for a potential cause for this:
Option 3 is the most recent theory based on reading through the manual ( 015-000050-00_microNOVA_Programmers_Reference_197602.pdf ) and reading the description of the powerfail option. Option 4 didn't solve the issue with termination on the backplane.
A replacement mN634 for U20 was sourced from an unrelated microNOVA RAM board I was able to purchase on ebay before I had started the refurb. Once replaced the CPU board read and wrote to RAM correctly and the machine was fully functional! | |
Serial Interfacing | |
| Software: https://github.com/AkBKukU/DG-ConsoleDebugInterface/blob/main/dg-con.py
I want to be able to use a modern computer for reading and writing serial data from the computer to have a automated method of controlling it. This will make it possible to dump memory contents and load programs from a modern computer. This may become crucial for backing up the data that is on the hard disks in the future and may end up being the easiest way to preserve any data on the floppy disks if imaging them doesn't work out. If I end up writing ASM for the computer before I get the other drives working this will make it possible to "save" and "load" programs later as well. Requirements:
2025-03-12: The software can now read and write to blocks of memory using binary files. It needs to be made easier to use still but the primary concept is functional. | |
Refurb Dual 8 Inch Floppy Drive - DONE |
Image 8 Inch Boot Disk - DONE |
| There is a 6030(?) dual floppy drive unit in the rack. The drive has a monolith PCB that controls both floppy drive mechanisms. The data channel for the drive goes into the chassis and connects to the main board.
It needs the following steps done:
The reform process went smoothly, no shorts were found on the logic board though the total resistance of the logic was lower than I was happy with. The original drive mechs were not inspected due to the requirement of removing the MASSIVE logic board. The drive ID is set via jumpers on the top of the board. The device code is
The write protect sensor light does not seem to play well with the blocking sticker on the disks I have. I needed to put EMI tape over the notch to fully block light before I could write to it. |
I have one single floppy disk that is labeled "BOOT". Whether it truly is software or not has yet to be determined. The disk needs to be preserved still but this is made difficult by the disk being hard sectored.
I need to find a method for imaging and writing hard sectored disks. I have other non-software hard sectored disks for the microNova that I can test with. I currently have a Kryoflux and Greaseweazle for attempting this. It is also possible that the data encoding scheme of the disks is unknown and a flux image is all that can be done.
I have no intention of ever putting my only original boot disk in the original drive again. There is no way to know what the original drive will do to the disk and if there are low level issues it could potentially erase data. For the sake of ensuring that disks data is never lost I want to duplicate the disk and then use the copy to boot from.
The greaseweazle implementation of hard sectors was more advanced than I had found previously and it was able to read and write the hard sectored disks. It cannot decode them though, the encoding scheme for the disks is unlike any other format I can find. But I was still able to duplicate the disk. |
Boot Machine | |
| In a perfect world, it may be possible to just pop the floppy in and boot whatever is on it. The condition and contents of the disk are unknown though, it may not work.
It may be needed to learn how to convert the archived 9 track tape formats available from Wild Hare for use on a machine with floppies. It is possible simH could be used to convert them through emulation, or converting binary formats may be possible. A bootstrap program for running from the disk will likely be required. The programming manual has such a bootstrap program provided but it may not be suitable for this configuration. Once the machine is booting and running an OS it should be possible for it to act as a gateway to the Nova 4/X for furthering that project.
A copy of my one "BOOT" disk was booted on the machine. It seems to most closely resemble DG DOS but is not a complete system. It may just be a utility for either bootstrapping to the HDD or initializing new disks. More research needs to be done outside of what I have by reading the new docs made available by NovasAreForever to determine how to use the system.
Work is being done on decoding/encoding the flux data for the DG floppy drives. I have also spent time experimenting with simH in an attempt to emulate the machine. Ideally I would be able to use simH to make new floppy disk images for the microNOVA. Unfortunately it turns out the 6039 I have is command incompatible with the 6030 drive that simH may be able to emulate. Hope isn't completely lost yet, I might be able to make data disks using simH, but without potentially getting the rest of the OS off of the HDD I may not be able to get the correct utilities for working with the drives I have. While more work happens in the background on the floppy data I'm going to start turning my attention to the serial interface program because it is going to be critical. | |
6095 Removable/Fixed Platter Drive | |
| The rack for the microNOVA has a 6095 removable/fixed platter drive with 5MB disks. The drive's contents are unknown. I have three removable platter pack between both of my systems, one is crashed.
The drive is going to need considerable restoration before any attempts to use it can happen:
| |


